The standard Zentangle tile is 3 inches square. An opus tile is 9 inches.
This the finished tile.
The challenge in moving from small to large is that there is so much space to fill. Errors in proportion and tangle selection really show up. Lack of confidence in myself as an artist is also a big issue for these sized tiles.
Anyway ....
When in doubt, go back to basics. For Zentangle that means:
- Be still: relax, be calm, allow yourself to let go.
- Frame: create the border on your tile
- String: divide the space into sections
- Fill: fill each section, focusing on each section at a time
- Shade: add shading and dimension
- Finish: take time to admire your art.
Additional basic steps for me are:
- Focus on each section as I draw and stop worrying about the next one
- Turn off the self critical person sitting on my shoulder
- Enjoy the process as a process and try not to think of the outcome.
- Admire my art at each stage of the process.
- Look for ways to add little touches to the tile to bring it all together.
- Celebrate my creativity by sharing it on my blog.
Below are some of the steps along the way of creating this tile.
 |
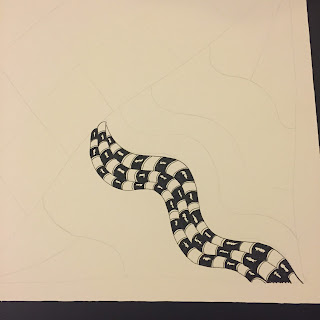
| Start with a string. This string has more elements that I'd use for a traditional tile. |
 |
| My first tangle was barber poles. I like the 3D effect it has, even before shading. |
 |
| I next added dex, which is a new tangle for me, then flux on one side, and poke root and poke leaf on the other. |
 |
| Then I started to file the top half of the tile. I decided to focus on angular tangles as a contrast to the flowing designs on the bottom half. |


No comments:
Post a Comment